How to Install ISPConfig Panel on a VPS – A Free Alternative to cPanel
How to Install ISPConfig Panel on a VPS - A Free Alternative to cPanel
Overview
If you’re looking for an affordable control panel, consider exploring DirectAdmin. It is significantly more cost-effective compared to cPanel and fulfills its necessary functions.
In my opinion, ISPConfig is excellent for managing a few websites, especially if you possess technical skills. Keep in mind that ISPConfig doesn’t run or install itself out of the box; you’ll need to handle the initial installation and configuration before installing ISPConfig 3.
Instructions
This tutorial explains how to set up ISPConfig 3 using the latest development version from a Ubuntu repository with its dedicated Ubuntu package. Instead of purchasing cPanel, you can opt for various free, open-source alternatives that offer similar functionalities, have their source code available online for your review, and can help you save money. Here are some of the most popular options.
ISPConfig is a sophisticated control panel that allows users to manage multiple servers from a single control panel—an exceptional feature most of the competitors lack. You can configure Apache2/nginx web servers, mail servers, DNS, mirroring, and much more. ISPConfig handles the management of multiple servers from a single control.
The great thing about a control panel is that, for many, it provides added convenience—you can attempt to install specific applications yourself, but for the more complex ones, let the experts behind the source code take over. There is proper multi-server, IPv6, and virtualization (OpenVZ) control, which is ideal for ISPs or other enterprise environments.
ISPConfig has built-in support for the free SSL Certificate Authority Let’s Encrypt. The Let’s Encrypt feature enables you to create free SSL Certificates for your website in ISPConfig.
In this guide, I will use the hostname host1plus.example.com with the IP address 52.42.56.54 and the gateway 52.42.56.54; these settings might differ for you, so you should replace them where appropriate. This is my public IP before proceeding further. Edit the source list with the command. The source list file is in this directory /etc/apt/sources.list.
Installation
This tutorial presents the simplest method for installing ISPConfig on Linux, just by following a set of commands:
For Ubuntu
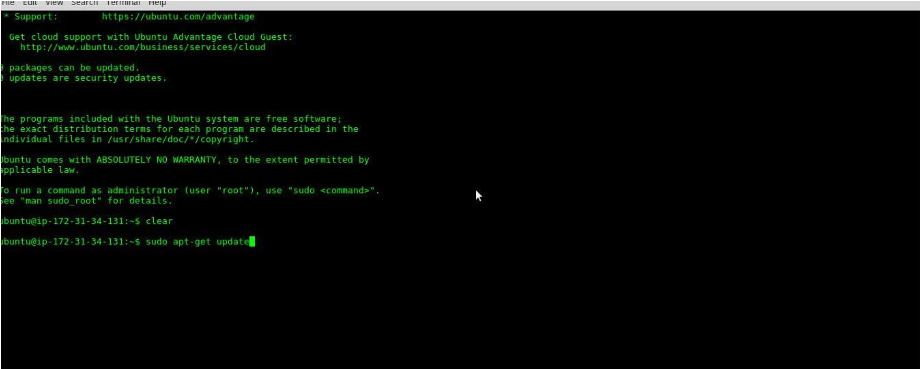
apt-get update
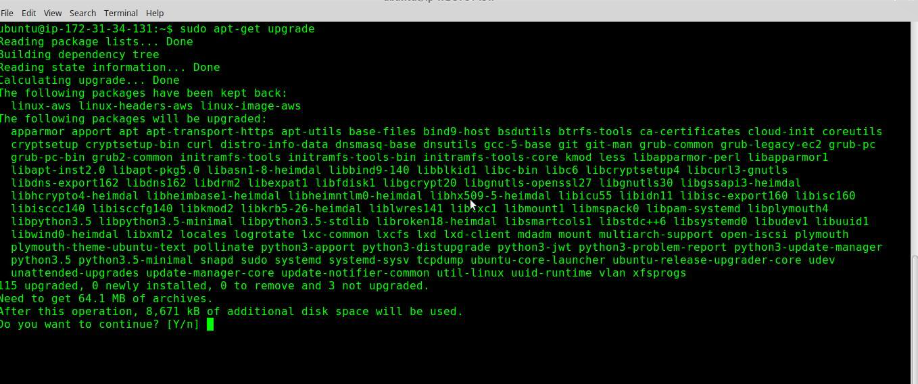
root@host-ubuntu:~# apt-get upgrade
Press “y” and proceed with the upgrade.
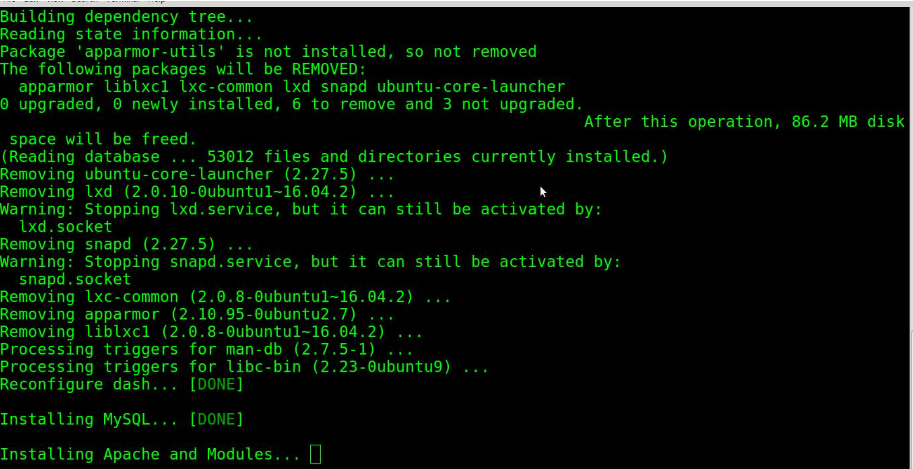
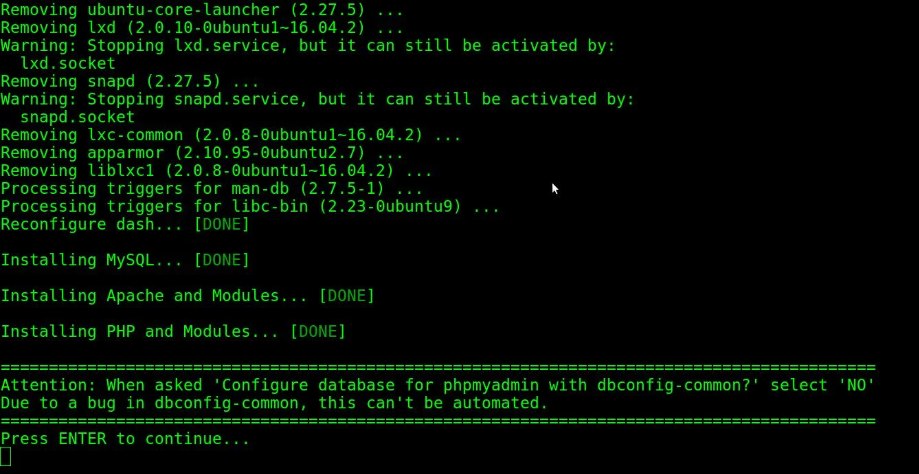
Our system now needs to be updated, and we can proceed with the rest of the installation. Note that this installation assumes an empty server without pre-installed Apache and MySQL. If Apache and MySQL are already installed on this server, they won’t be installed by default. Change directory
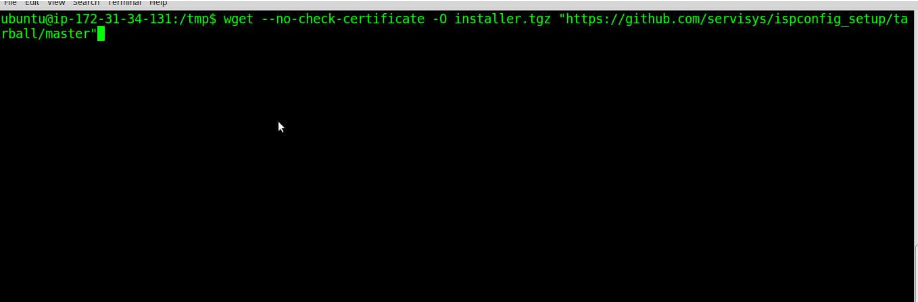
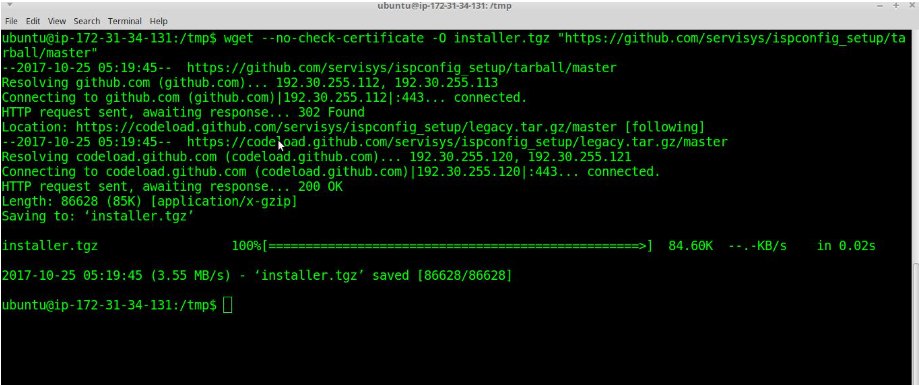
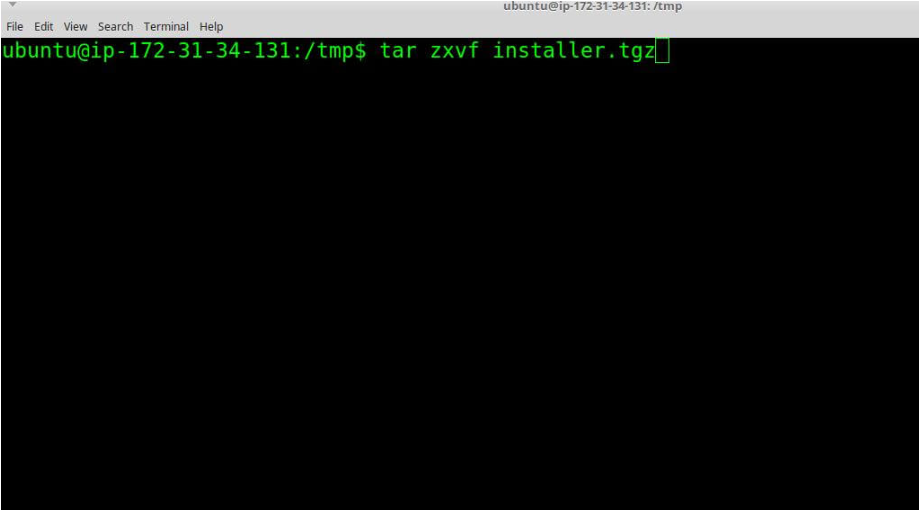
The zip file is saved on your system. Now, extract the installer.tgz file.
root@host-ubuntu:/tmp# tar zxvf installer.tgz
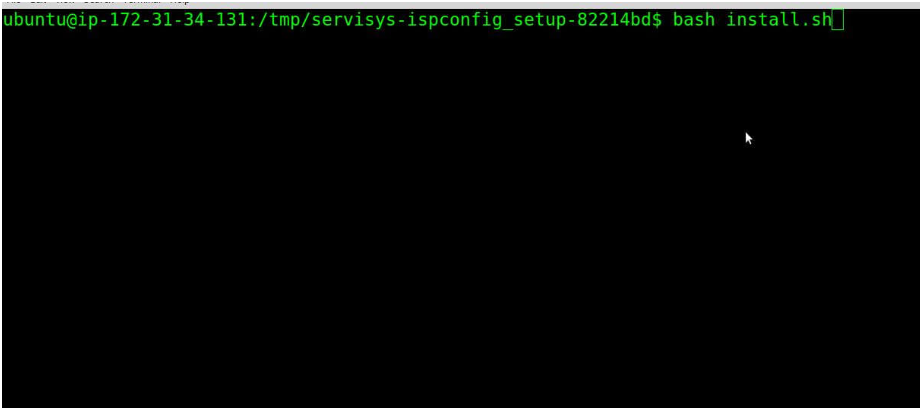
Let’s execute some commands from the shell to initiate the setup process.
root@host-ubuntu:/tmp# cd ispconfig_setup-master/./install.sh (bash install.sh)
Press “y” to confirm and proceed. Now, open and install the servers one by one.
Install every server sequentially
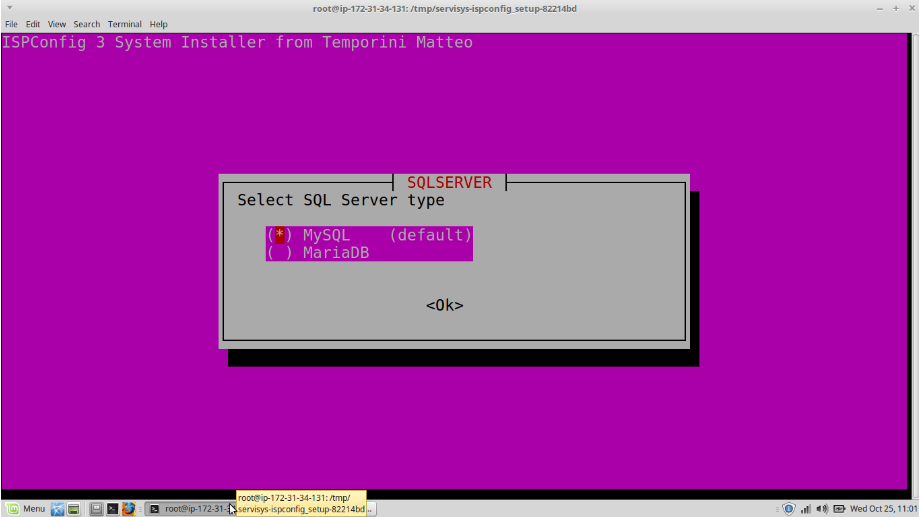
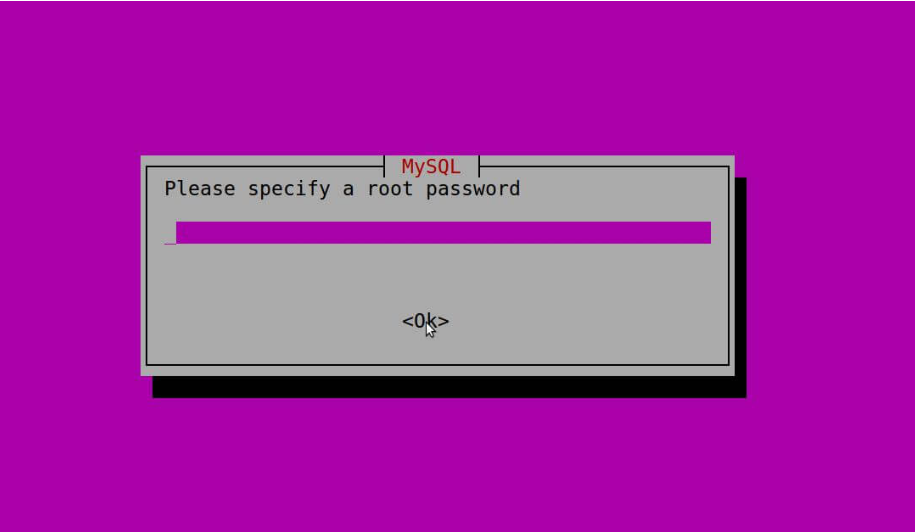
Open the tab and choose SQL server, then press Enter.
Type in the root password
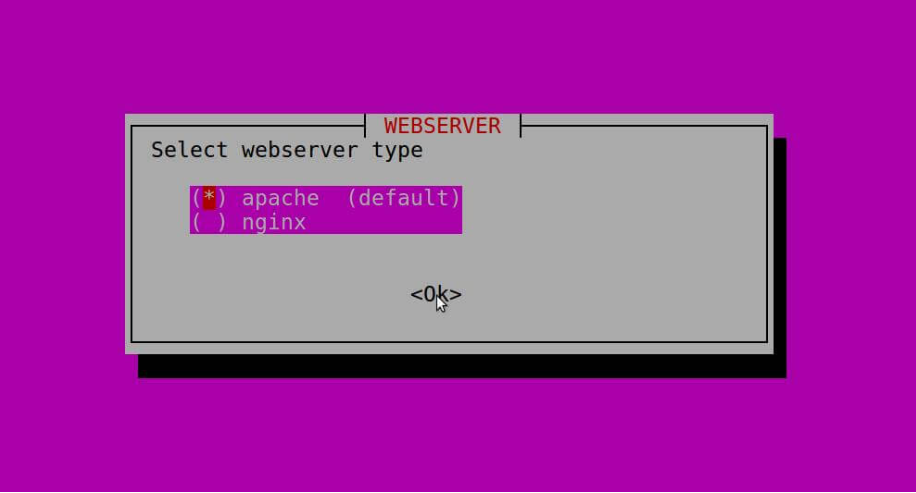
Choose a web server
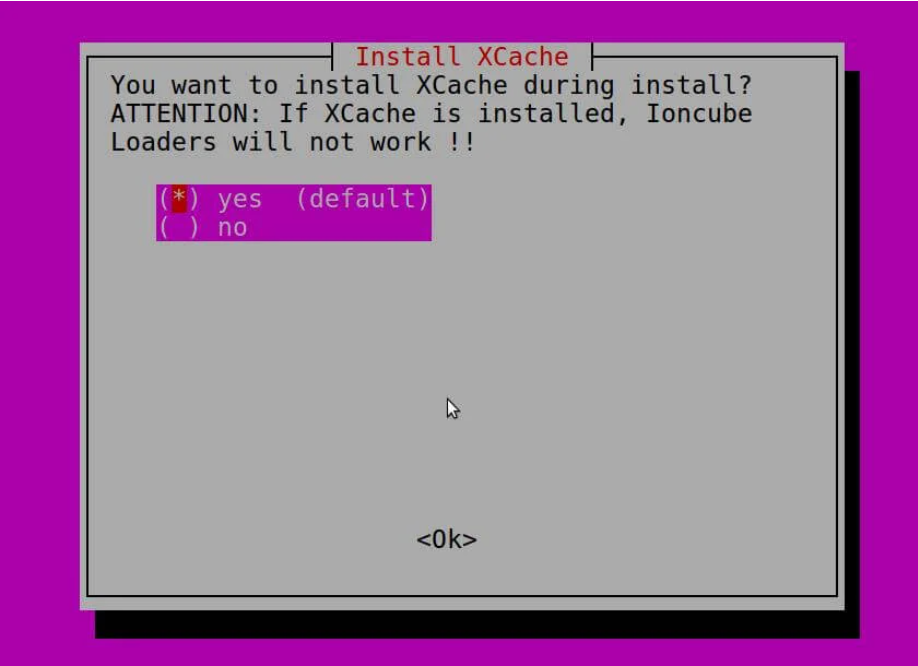
Set up Xcache
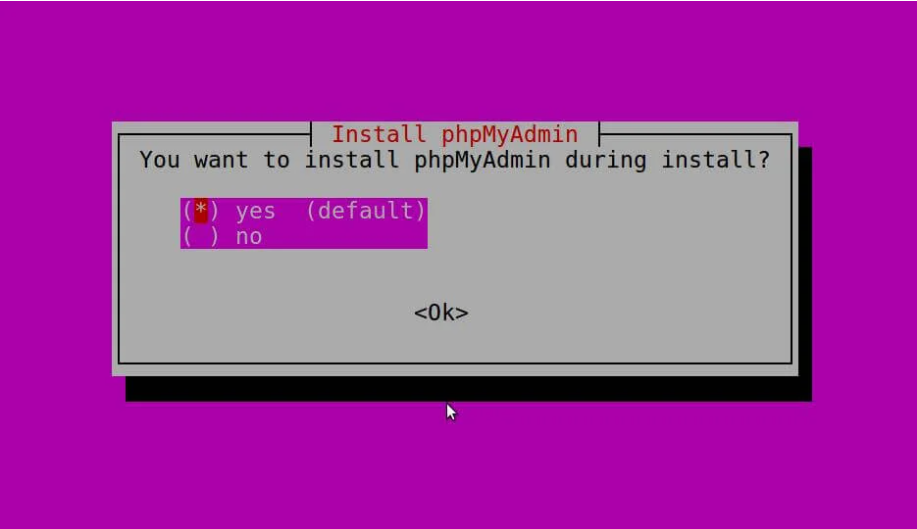
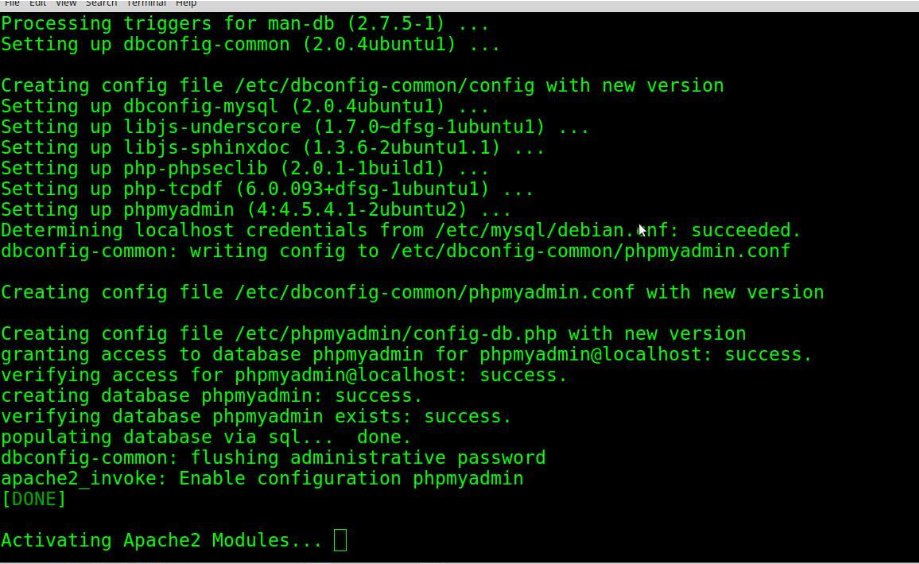
Set up PhpMyAdmin
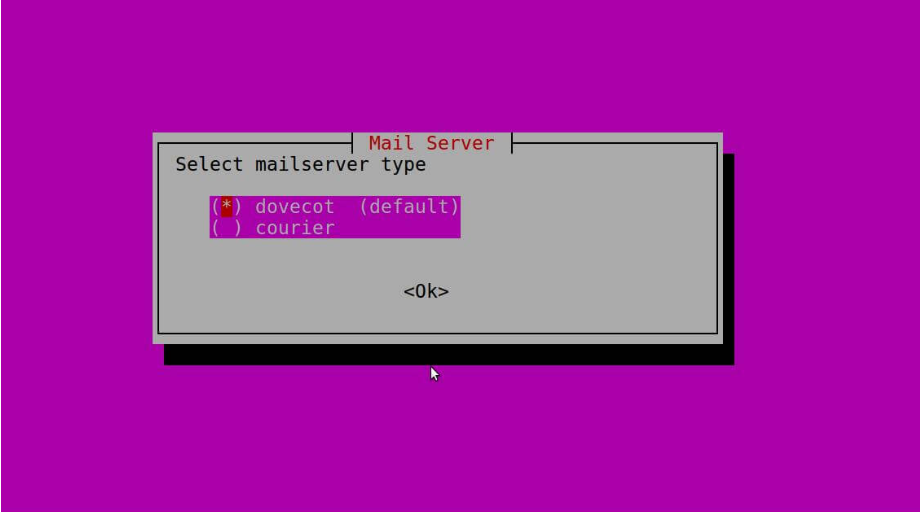
Set up the mailserver devcot
Press Enter to install the default Dovecot configuration.
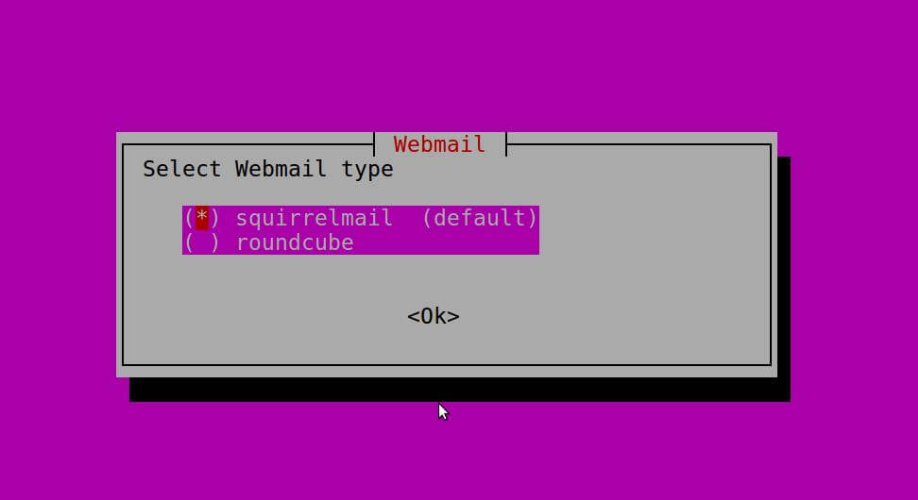
Set up webmail
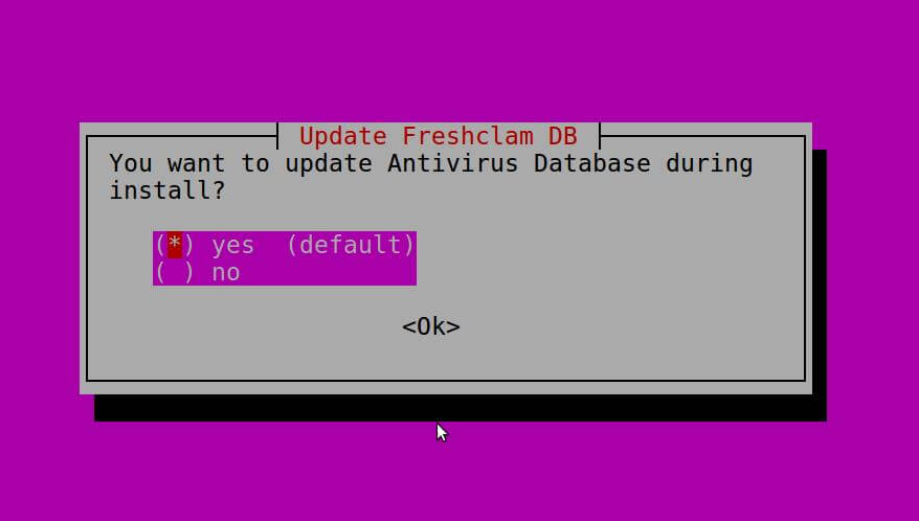
Set up Antivirus
Statistics are the most crucial and vital assets of every organization, and no one would want to risk the compromise of sensitive information due to potential security threats.
This Linux feature allows the system administrator to allocate a maximum amount of disk space that a user or group may utilize. It is flexible in its adherence to the assigned rules and is implemented based on the filesystem.
Now, ISPConfig is in default mode.
You have the option to set the default languages.
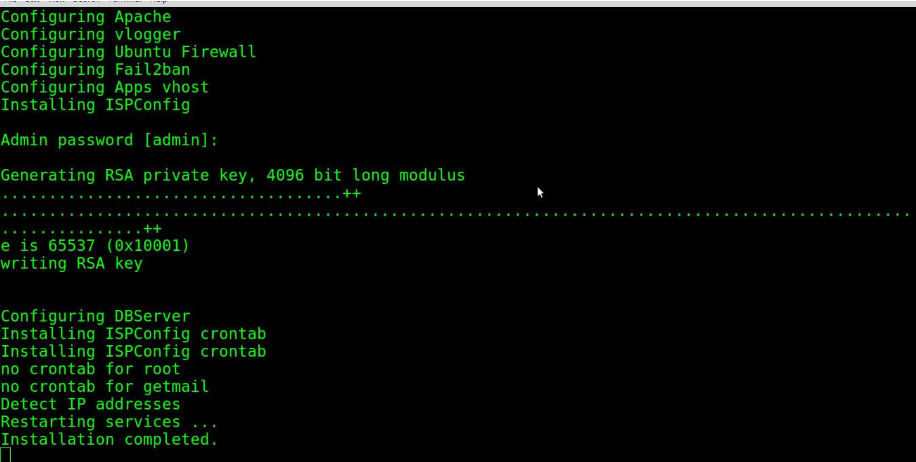
Set up jail-kit
As claimed by the developer, Jail-kit is recognized for its use in network security appliances by several leading IT security companies, web servers from various large enterprise organizations, web servers from internet service providers, as well as many smaller businesses and private users who need to secure CVS, SFTP, shell, or daemon processes.
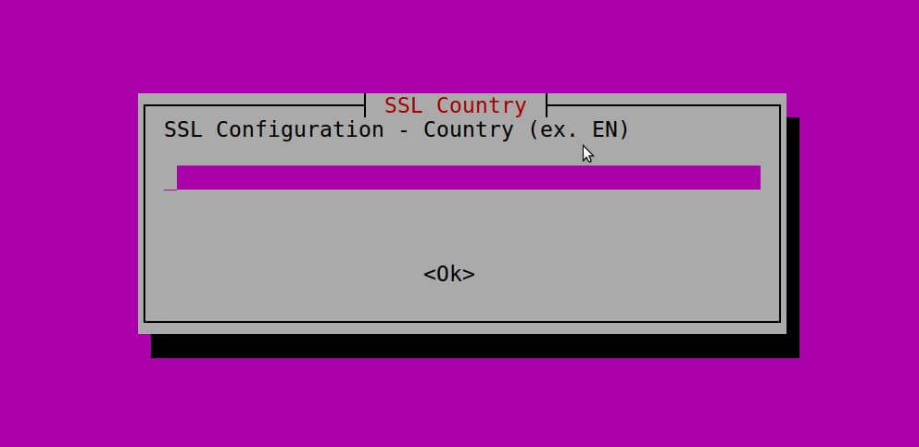
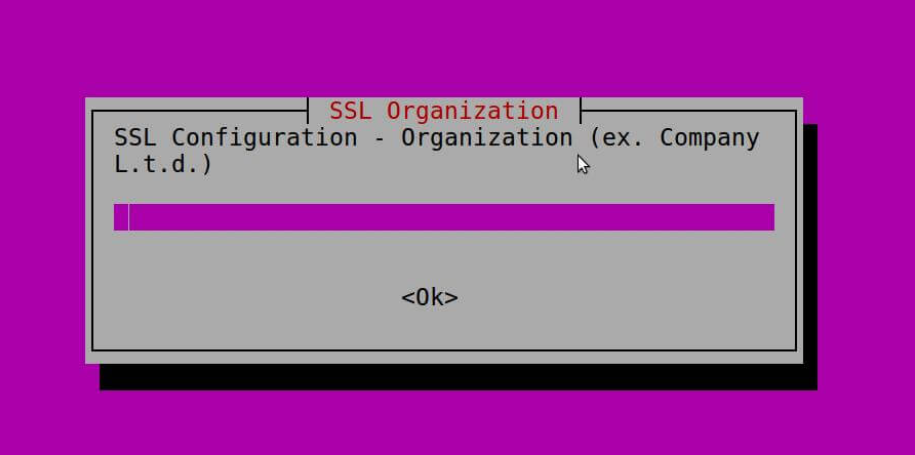
Configuring SSL
ISPConfig has built-in support for the free SSL Certificate Authority Let’s Encrypt. The Let’s Encrypt feature enables you to generate free SSL Certificates for your website in ISPConfig.
Configuring an SSL certificate can be a complex process. Fortunately, we’re here to help. This page provides instructions on troubleshooting existing SSL certificate installations and configuring SSL certificates on your server.
Now, return to the terminal and proceed with installing all the packages.
Press Enter to execute the command.
Create the configuration files and activate the Apache module.
Set up ispconfig
Your user ID is “admin,” and the password is the same.
Your installation is complete. You can access your ISPConfig provider by visiting your domain name followed by :8080 in your web browser.
https://server_domain_name:8080
Login
After logging in, the page displayed will be
ISPConfig is being installed during this process
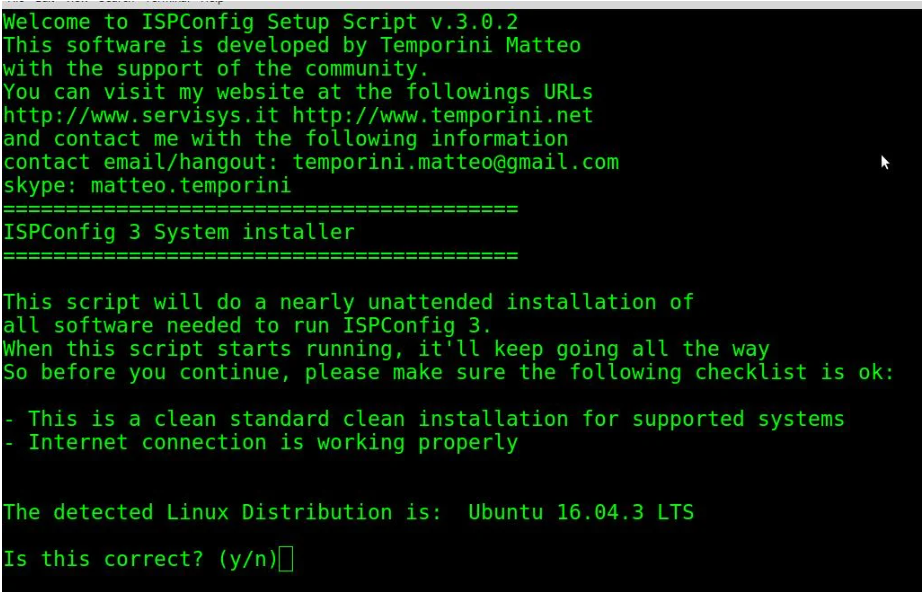
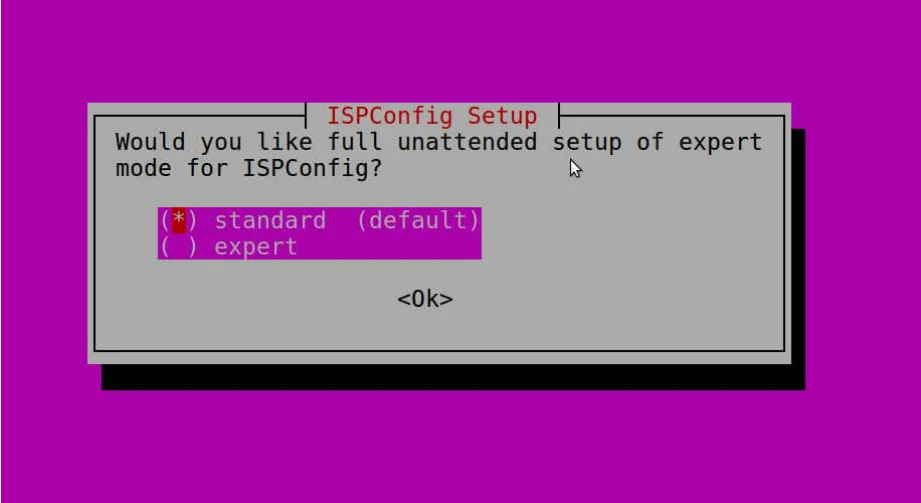
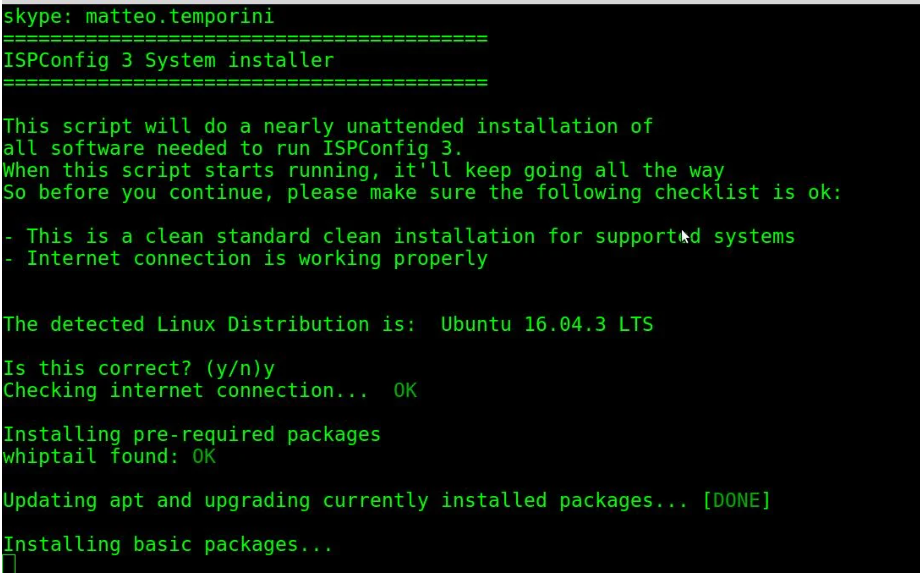
At this point, the installation process checks your distribution to detect if the installed OS is compatible with the script. In your case, it will detect Ubuntu 8 Jessie. If it is correct, press ‘y’, and you will be asked a few questions before the automated installation process begins. If you don’t know the answer to a question, you can choose the default option by simply pressing Enter.